Tech tips: How to do camera calibration for Cortex and BaSix
22 Jun 2023
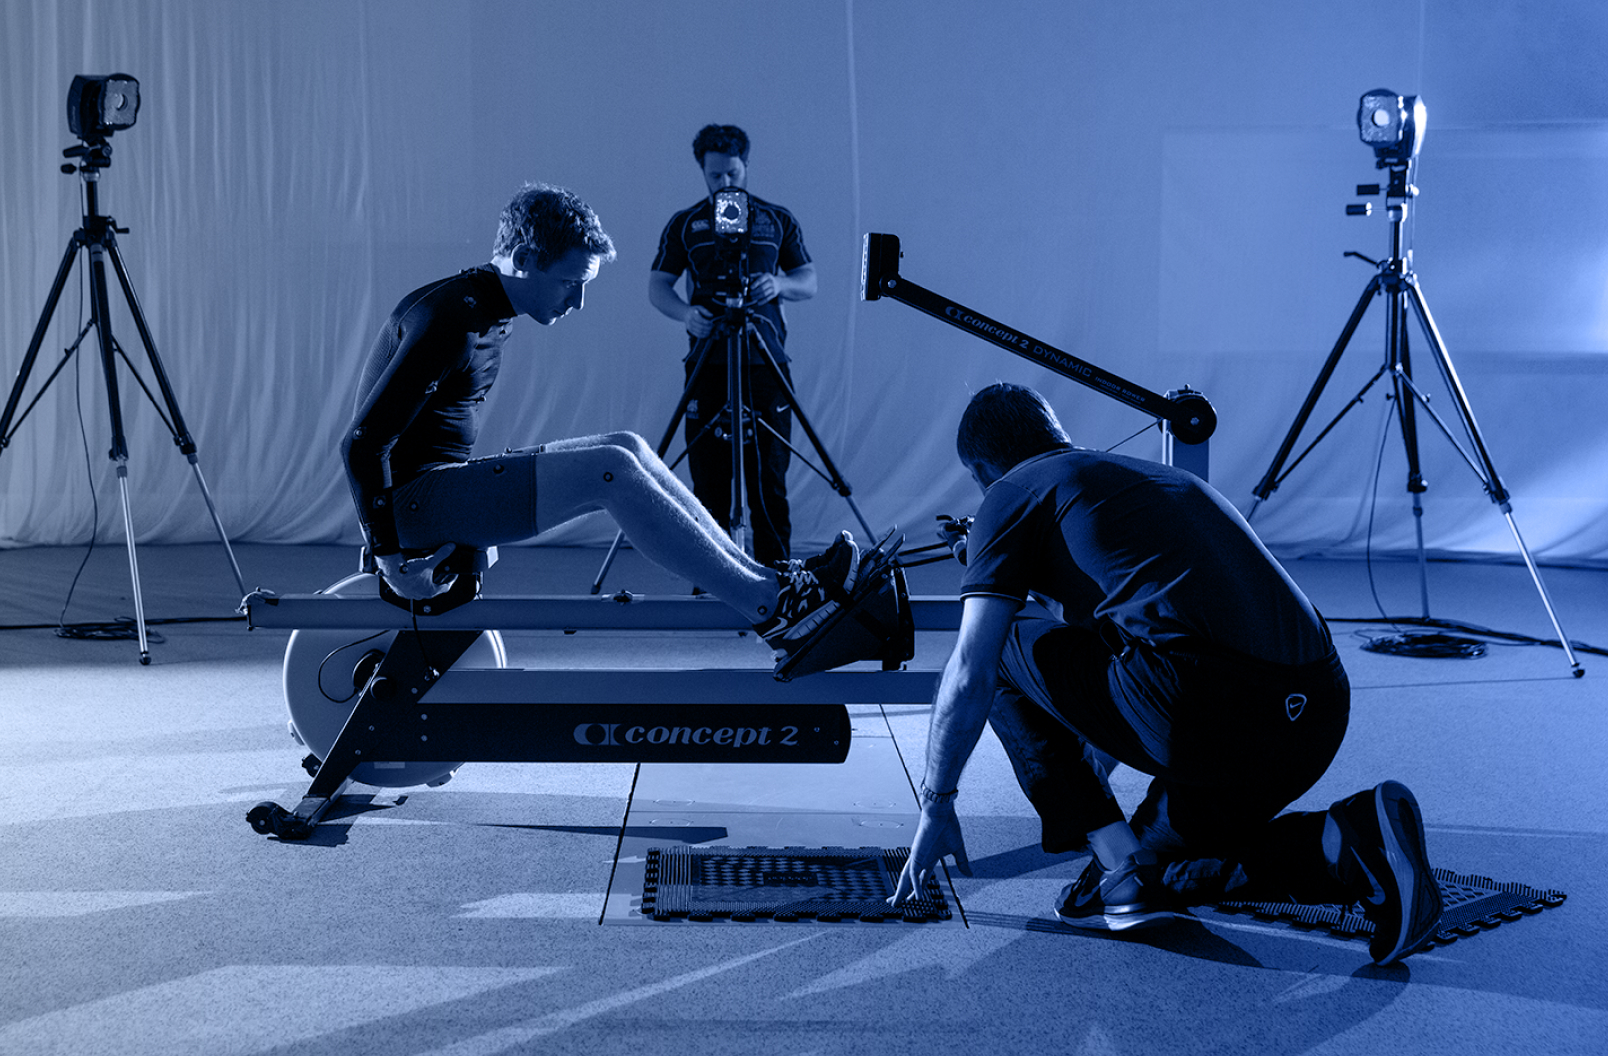
Before any motion capture project begins, a thorough calibration process must take place. No matter which cameras you use, making sure that they are receptive to markers and synchronized properly has a distinct effect on the accuracy of your captured data. Plus, when the initial basics are completed successfully, it smooths the next stages of using mocap software.
Calibrating cameras for our Cortex and BaSix software is a quick step-by-step process. Here’s how it works, with some handy insider insights about our advanced features.
Simple setup, rapid results
Considering the individual specifications of multiple cameras, mocap system operators are required to align them properly in order to track movement effectively. This means lenses may get readjusted, while cameras situated in places likely to get knocked repeatedly may need to be repositioned, so it’s best to perform an all-new calibration process to ensure high-quality data capture.
Luckily, calibration typically takes only a couple of minutes, although this can depend on the number of cameras you are using, their capture volume, and whether they are fixed. Likewise, the precision of the capture movement data will be improved when using the system shortly after completing the calibration.
Camera calibration explained in two simple steps
Calibrating cameras for Cortex and BaSix is a two stage process requiring just a couple of pieces of equipment.
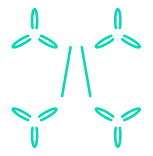
Map the space using the L-frame
This is a simple L-shaped apparatus complete with four markers used to establish the capture space’s coordinate system.
During initial set up, the corner marker – which defines the volume origin – is typically placed at the center of the intended capture space. If any minimal adjustments need to be made, it is simple to make “spot checks” of each camera within the software to make sure the cameras can only see the L-frame’s four markers before moving on to the next step.
It’s a misnomer that all cameras have to see the L-frame – it is better if most can, but that may not be possible in an extra large space.
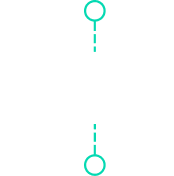
Standardize measurements with the wand
The second stage involves dynamic calibration using a handheld wand, which has a standard 500 mm length between the markers at each end of the wand. This provides a reference point for the cameras to map out the entire capture space using dynamic calibration.
By waving the wand in the cameras’ field of vision, they can measure precise lengths from the wand’s end markers to the surrounding volume, and then correct themselves according to those measurements.
When all the parameters – including focal length, camera orientation, L-frame measurements and wand lengths – are input correctly and calibration converges correctly, the mocap system can be used.
Watch our quick how-to video
Advanced Cortex features
Initial setup is available to customers using BaSix software, with these following extra calibration features available within Cortex:
Gain feedback on camera status
For both the L-frame and wand steps above, Cortex’s 2D view identifies how many centroids a camera sees. This makes it easy to identify if the cameras can only see the L-frame’s four markers, or the wand’s three markers. When the camera has sufficient wand data for lens calibration, the camera’s 2D view in Cortex changes color from white to green as a form of visual feedback. Similarly, for both steps, camera tabs change color to indicate a camera being uncalibrated, ‘seeded’ (if it sees the correct markers), or fully calibrated.
Remove the need to restart with Update Calibration
Restarting an entire calibration doesn’t take too long, but the Update Calibration tool requires fewer steps by amending camera calibration information according to pre-calculated values. It is especially helpful when the volume is an odd shape to implement the L-frame properly, or in a bigger capture space where not every camera can see the L-frame’s markers.
Reduce residuals fast using Quick Refine
Cortex processes areas of the space where the wand’s markers are being reconstructed in 3D. These resulting ‘residuals’ are good indicators of calibration success. You are looking to gain a 3D residual average across each camera during calibration.
It is possible that these 3D residuals can increase over time since the initial calibration. For example, any knocks can cause camera vibrations that can disturb the equipment. If you’re rushed for time, rather than completing the full calibration process again, Cortex allows for Quick Refine. Using any markers in the volume – including those attached to a subject for instance – you can record the mocap actor covering the whole space, while performing a quick refine, and the system will then update the originally saved calibration values accordingly.
Personalize the process using Custom Calibration
Within Cortex’s Custom Calibration wizard in Live Mode, you can toggle both general settings (e.g. frame rate and shutter speed) and individual camera settings (e.g. threshold, brightness, min/max lines).
Custom calibration settings are saved in the check box which, when enabled, applies the user-defined settings after starting the calibration process, and saves them at the end to be applied automatically when the next calibration is started. This is useful when different camera settings are needed for calibration compared to collection, for example when wanting to save time and collect less data by implementing lower frame rates.
Cortex’s settings also allow you to ‘mask’ areas in the 2D view of any given camera, which filters out any ‘noise’ such as bright lights or reflections that may distract from the markers.
Reusing collected Raw Files
Raw Files get saved during the two-step L-frame and wand calibration process as ‘calframe’ and ‘calwand’ for each step.
If there is any problem causing a diverging calibration (whereby cameras cannot understand spatial positions), these files can be used to recreate the calibration with different settings and gain a more successful result, even for offline calibration.
Track moving cameras with Continuous Calibration
If you use a roving camera (or if the room or volume space is moving) Continuous Calibration utilizes stationary markers in the space for the camera to correct its own position while continuing to track subject marker movements, as shown in this demonstration.
We’re here to support you
It is possible that some small details could get overlooked during the calibration process, but there’s usually a quick fix. It could be as simple as a typo when inputting a lens specification. We’re here to assist you with any troubleshooting problems that might occur.
With a range of options for calibrating cameras for Cortex and BaSix, it is simple to prepare your mocap system quickly and efficiently. If you need help with the calibration process, chat to our Customer Support team.
If you’re exploring mocap solutions and would like to find out more about our systems, please book a demo.
We use cookies on our website to give you the most relevant experience by remembering your preferences and repeat visits. By clicking “Accept All”, you consent to the use of ALL the cookies. However, you may visit "Cookie Settings" to provide a controlled consent.
This website uses cookies to improve your experience while you navigate through the website. Out of these, the cookies that are categorized as necessary are stored on your browser as they are essential for the working of basic functionalities of the website. We also use third-party cookies that help us analyze and understand how you use this website. These cookies will be stored in your browser only with your consent. You also have the option to opt-out of these cookies. But opting out of some of these cookies may affect your browsing experience.
Necessary cookies are absolutely essential for the website to function properly. These cookies ensure basic functionalities and security features of the website, anonymously.
Cookie
Duration
Description
cookielawinfo-checkbox-analytics
11 months
This cookie is set by GDPR Cookie Consent plugin. The cookie is used to store the user consent for the cookies in the category "Analytics".
cookielawinfo-checkbox-functional
11 months
The cookie is set by GDPR cookie consent to record the user consent for the cookies in the category "Functional".
cookielawinfo-checkbox-necessary
11 months
This cookie is set by GDPR Cookie Consent plugin. The cookies is used to store the user consent for the cookies in the category "Necessary".
cookielawinfo-checkbox-others
11 months
This cookie is set by GDPR Cookie Consent plugin. The cookie is used to store the user consent for the cookies in the category "Other.
cookielawinfo-checkbox-performance
11 months
This cookie is set by GDPR Cookie Consent plugin. The cookie is used to store the user consent for the cookies in the category "Performance".
viewed_cookie_policy
11 months
The cookie is set by the GDPR Cookie Consent plugin and is used to store whether or not user has consented to the use of cookies. It does not store any personal data.
Functional cookies help to perform certain functionalities like sharing the content of the website on social media platforms, collect feedbacks, and other third-party features.
Performance cookies are used to understand and analyze the key performance indexes of the website which helps in delivering a better user experience for the visitors.
Analytical cookies are used to understand how visitors interact with the website. These cookies help provide information on metrics the number of visitors, bounce rate, traffic source, etc.
Advertisement cookies are used to provide visitors with relevant ads and marketing campaigns. These cookies track visitors across websites and collect information to provide customized ads.